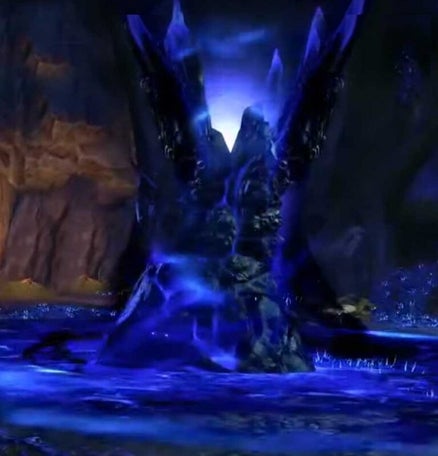
Lair of Maarselok
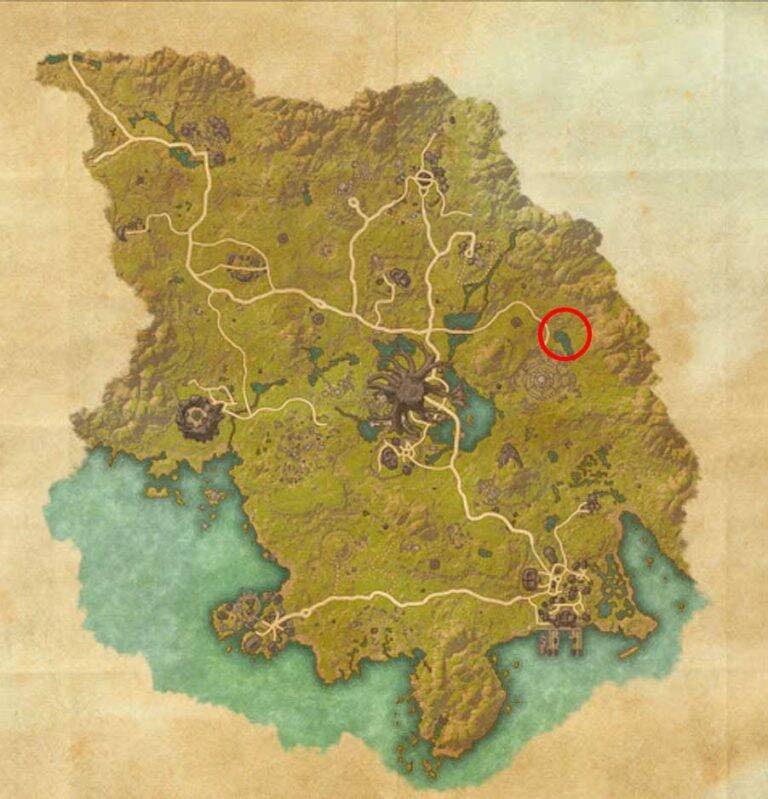
This is one DLC dungeons you have access to at level 45 or if you travel to the opening yourself at lower levels. This is located at the most north western part of the Grahtwood map as shown below left.
The bosses are marked on the map below right with their names and locations. I shall explain their mechanics as well as what you should and shouldn’t do while facing them.


Boss fights
Selene’s Claws & Selene’s Fangs
This is the first boss of the dungeon and is split up into two sections with technically two different bosses. It can be very straight forward but also because of some popular mistakes, this can be a bit of a pug killer early on. The tank should hold the boss in the middle of the room and turn it away from the group at ALL times.
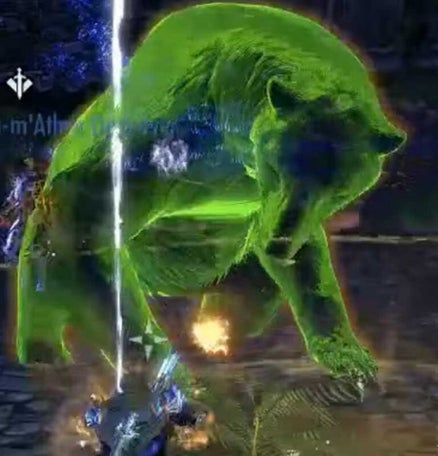
The BEAR!
Heavy attack – The boss will fire off nasty heavy attacks which must be blocked by the tank, if the tank fails to block they will take MASSIVE damage. If for any reason the boss attacks a dps/healer they must dodge roll. Block won’t be enough to survive.
Cleave – This mechanic is pretty simple. The boss will hit in frontal area of affect. Be sure that the dps and healers are not inside of this and the tank if inside of it blocks. Pretty basic stuff.
The Spider!
Once the bear is dead the spider will spawn, during this spawning the spider can chose to heavy attack ANYONE and it is very hard for any tank to taunt it initially. So EVERYONE, must STAND BACK as soon as that bear dies and let the tank grab the new boss. Failure to do so will almost definitely kill someone!
Heavy attack – This mechanic is simple…As the tank, block it or die. As a dps/healer, dodge roll it or die.
This should only EVER be on the tank but it is very strong, no dps/healer will survive blocking this mechanic so pay close attention.
Spiders – Throughout the fight this boss will spawn small spiders. These should be chained in and held on the boss so they can be killed in aoe by the dps. If the dps in the group is low, then you should FOCUS these spiders asap. The longer the fight goes on the more of these will spawn and you will get overwhelmed.
SELENE
Poison – This mechanic was used in Asylum Sanatorium. Whoever has this cone affect on them will take poison damage during the duration. It will follow the targeted player around so do NOT move. Simply stay inside of it while healing or hold block. Running around will make this hit other players. All other players should stay out of it. It only lasts for a short period of time so do NOT panic and run around the room. Hold your ground.
POP! – The boss will cast aoes under each player in the room and as they grow they will POP and throw players into the air. These can be stepped out of to completely avoid them, however if you are not fast enough at least BLOCK to mitigate some of the impact. You will be stunned/thrown back so you will need to break free.
Channel – This mechanic is the pug killer. Selene will teleport all over the room during the fight and you MUST above ALL, keep eyes on her! At any time she could use her channeling ability which will rapidly tick projectile damage at all players. You must interrupt her as fast as possible to stop her doing this. If you do not, people WILL die. If you are running to her rather than using an interrupt skill, i recommend dodge rolling along the way, because you CAN dodge ticks of it. This is a KEY mechanic, no interrupt will result in a wipe 9 times out of 10.
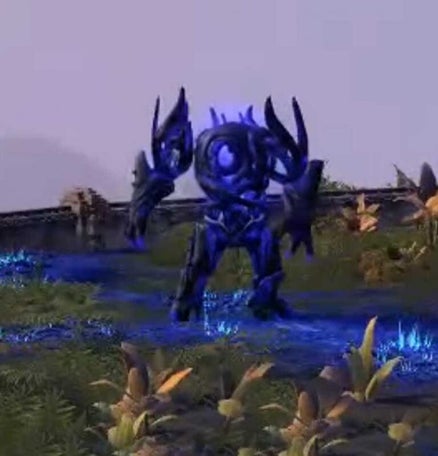
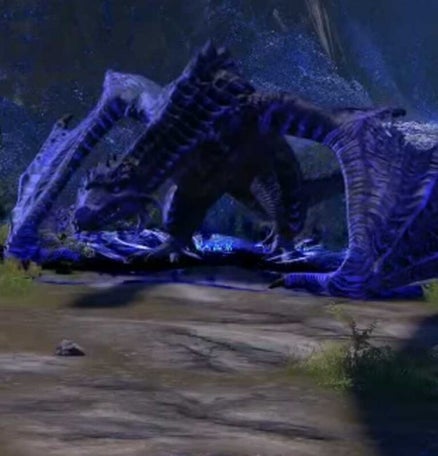
Azureblight Lurcher
This boss LOOKS like a mess but can be managed very simply as demonstrated in the video. Key to this is to NOT panic and for the tank to remain in control at all times. Do not run around the room. It is much easier if you simply plant your feet and keep the boss as still as possible and only move where necessary. Many people make mistakes here moving the boss all the time to avoid things. You simply don’t need to.
You will have to take the boss from 100% to 0 3 times. Once this is done the fight is over. Each phase takes more damage off of Maarselok (The dragon gets damaged throughout the dungeon).
Breath – Maarselok will charge across the room in the air breathing in a HUGE strip aoe. This is about as self explanatory as it gets…stay, out, of, IT!
Do not let the boss touch this aoe, else it will get stronger (enraged boss hits harder). However as you can see in the video we position the boss in such a manner that the breath doesn’t go anywhere near it. Easy Peasy right?
Heavy attack – The boss heavy attack in the direction of whoever has aggro (should be the tank) Simply BLOCK this. Note: if enraged it will hit harder so be careful and keep your health up. DPS won’t be able to block this but they can dodge it.
Adds – There are several adds to deal with, skeletal dogs, imps, stranglers and srpiggans. The tank should chain these in and control them while maintaining a taunt on the boss.
They must die or you will be overwhelmed by them. If the boss is currently in 0% health there are certain adds that MUST die before he comes back out of his immune phase again (imps are exempt from this).
Some adds will require interrupting but above all, don’t panic. They don’t have a huge amount of health, just keep up your heals, and aoe damage and these shouldn’t be a problem. However if your group has low damage, don’t worry, simply focus them one at a time until they are all gone and then go back to the boss. Technically you can take as long as you like on the boss so long as it is controlled. Work to your group’s strengths.
DRAIN! – This mechanic is simple but looks scary. The boss will attach negative aoes to members of the group and they will be dropped under their feet, sometimes one, sometimes up to 3x each, depending on how the boss is feeling. Once these are dropped on the ground they will remain there for a time. They will deal moderate damage but above all, they will drain the hell out of your resources and your stamina pool simply will NOT last.
This is simple. Don’t stand in them! Find a gap, and place your feet where you are not in danger. Don’t panic.
TIP: running around like a headless chicken in THIS fight will be a wipe. Relax, watch your feet and follow the mechanics and you will be fine no matter how much damage your group does or does not have.
Azureblight Cancroid
The Boss is straight forward BUT is yet another pug killer. Technically there is no execute phase and/or RACE as such, but of course the more FOCUSED your damage is, the easier this can become. A lot of which is actually due to POSITIONING rather than tank and spank. The tank will need to me pretty mobile in this fight, fully understand the mechanics and NEVER drop a taunt. Dropping taunt in THIS fight is a wipe, it is VERY hard to recover.
The tank should always tank the add AWAY from the blue circle of death, and players must stay out of it until it is gone. This is your first rule. DON’T stand in stupid !
Lurcher – The Lurcher is the main mechanical add for the fight. You MUST kill it in order to progress to the next phase.
The tank should always turn this away from the group and NEVER drop the taunt.
Heavy Attack – The Lucher will hit the tank with extremely strong heavy attacks. These must be blocked. A dps will have to dodge roll but really should not be in front of the boss anyway. Watch your feet.
Lurcher – The Lurcher will occasionally cast a cleave type attack throwing rocks across the floor much like the Hag Raven boss in Bloodroot Forge. This should be directed at whoever has aggro. If this is aimed at the tank, they simply should block and/or stand out of it. If it is a dps or a healer in the way of this, they need to get out of it asap.
It is a small aoe cone so easy to see and avoid.
Light Attacks/curse – Light attacks, seem to be pretty basic, but they can get really strong from this particular target. Be sure to be blocking these as they do a lot more damage than you would expect and can apply a curse (damage over time). While these light attacks appear to be melee, you CAN cast “absorb” type abilities to mitigate and/or heal from them depending on skill used.
Flies – The tree will fire spurting spray type abilities in the form of single splashing flies type effect aoes on the ground at the group. Be sure to avoid these. They do a substantial amount of damage.
STOMP!!! – This mechanic is the most essential in the fight. The Lurcher will stomp…This has a large fast spreading aoe that can and MUST be avoided. You can block it, step out of it or dodge roll it.
However most important of all, once it is finished the size of the stomp aoe will remain on the ground with a big dark blue circle. This will stay on the floor until the Lurcher is dead. Standing in this will kill you because you will take high damage over time. And every stomp will place ANOTHER circle on the ground.
So, this is where the tank comes in. Every time the Lurcher stomps, the tank should move the add out of the circle into a safe space.
Simply put, the boss needs to be slowly kited around the room in a direction the group decides.
Seed – When the Lurcher dies, it will drop a seed on the ground and INSTANTLY another Lurcher will spawn. This Lurcher MUST be grabbed instantly by the tank. Upon entering the room the first thing that add tries to do is heavy attack someone! Grab it quick!
A player in the group must pick up the seed via a synergy…THEN stand IN the big blue circle of death surrounding the tree, and synergize again to throw it AT the tree.
This will break the shield, remove the circle, and for around 20 seconds you will be able to damage the tree. Once 20seconds is up you will have to get out of the circle and go back to killing the new Lurcher and repeat the process over and over until the tree is dead.
TIPS: Save your ultimate for THIS phase.
The tank should also taunt the tree for a debuff AND bring the new Lurcher CLOSE to the tree, so that during this phase the add takes extra aoe damage.
This is for efficiency so that once the circle appears again, when fighting the new Lurcher, it already has less health making the next phase shorter.
Stranglers – This is the pug killing part. After the first phase when the tree has gone immune again. Stranglers will spawn around the room. The longer the fight, the more stranglers you will get. These deal MASSIVE projectile damage from huge range.
This fight is NOT technically a dps race, BUT the condition is, the longer the fight, the more stranglers. SO, you MAY have to send someone to focus these down if you get over whelmed. To be SAFE, kill them whenever you see them.
Anything after 3 phases is pretty rough so don’t let them live.
You can do this with very low damage in your group IF you focus mechanics and above all your tank positions those Lurchers into places that will help the whole fight.
Example: Lurcher stacked on the tree when it is no longer immune, and Lurcher stacked ON stranglers.
Both of these types of tactics will allow the Lurcher to ALWAYS take damage during mechanics of any kinds so that everything is managed at once rather than trying to burst it down with no burst.
Above all, focus. Resurrecting games in this fight is pretty much a wipe.
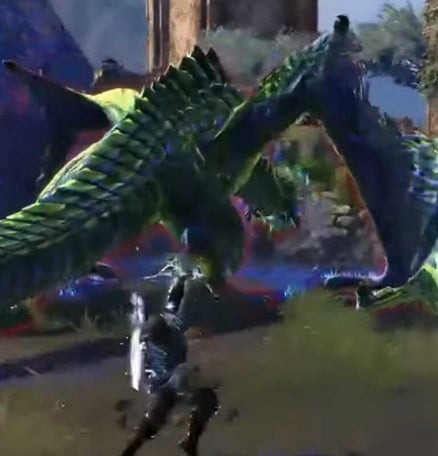
Maarselok
This Boss is a PUG STOPPER! Because it can be utterly exhausting if people don’t work together. As far as “difficulty” is concerned, it is actually on the lower end. But this fight can last 2 minutes or an hour! And sometimes more! You MUST focus as a group.
For this you don’t need, huge burst, massive dps or any of that rubbish. What you NEED is as much AOE damage as you can find.
Now, that doesn’t mean HIGH damage, it just means EVEN damage in area of effect rather than single target. The more area damage you have the easier it is to kill multiple targets at the same time! That is key. It’s not killing each one fast, it’s killing things together!
Following the tactics in the video and/or in this guide should help you pass this with flying colours.
The healer should hover around near Selene while keeping constant heals on the group. The tank should be with the dps holding the adds close to them and managing new mechanics. More explained below.
Hoarvors – Selene is trying to make spiders crawl up the wall to attack Maarselok. If these anoy him enough he will come down and you can attack him. If not, then he won’t. Selene needs to be active in the fight and must be protected. The Hoarvors will spawn throughout the entire fight and move slowly towards Selene. If she gets attacked by them she will be stunned and stop hitting the boss with spiders. THIS prolongs the fight. So the healer (or whoever you decide) should pay attention to these Hoarvors. They do not require killing. Simply stand NEAR one, and it will explode. If you can stay on top of this mechanic and never let any of them reach Selene, her job is a LOT easier.
Adds – Adds very similar to those in the second boss fight. The tank should grab these asap and keep them stacked together with the DPS players in the group so they can be killed with aoe damage. These will spawn throughout the fight. Watch for the bears, their heavy attacks are nasty and must be blocked.
FUS Ro DA! – Throughout the fight Maarselok will shout “Fus Ro Da!”, whenever he does this you MUST block, or be thrown across the room. It doesn’t hit very hard but failing to block and then having to break free from the stun, OR be thrown into unnecessary AOE damage can be a problem. So pay attention to this.
AOE – There are constant firing AOEs in the fight that land on players or next to players. These must be avoided. Maarselok is not careful with these, they are fired all over the place. Watch your feet or you will get overwhelmed with incoming damage FAST!
Stranglers – THIS along side the Hoarvor mechanic is KEY to this fight. Stanglers will spawn in a set area of the room constantly!
These stranglers are like wack-a-mole. They will just keep popping up over and over. They can do high damage to dps/healer players and also cause a major problem to the fight.
The hoavors must be killed to allow Selene to cast spiders up to the boss. BUT, the stranglers ATTACK the spiders which ALSO prevents them from getting to the boss, which means the fight will just go on forever if these mechanics combined are not managed!
The trick to this is to get as much stress off the spiders as possible. The way to do this is NOT to have “high single target dps players”, but instead to have as much AOE damage as possible. The bigger the area you can apply damage, the more will die at once and the less up time they have attacking the spiders.
You need to protect Selene, and Kill stranglers until enough spiders have attack Maarselok enough to bring him DOWN into the fight.
The reason the tank should keep the adds near the dps is so that they can die passively with the stranglers being hit with aoe damage types.
Once Maarselok comes down, you have a small window (around 20seconds) to damage him, then he will go back up again. He has a cap however. If he hits 65%, and 55% on the first two landings regardless of the time remaining he will go back up. This can be done in 3 phases if you have a LOT of damage but may take more if your group damage is low. BUT there is no execute mechanics, just rinse repeat. If you can do ONE phase, you can do it all.
Lurcher – EVERY time Maarselok goes back up into the mountains, a Lurcher will spawn. The tank should take this into the middle of the new strangler spawn point and hold it there with any other adds. While aoe should be kept up, this Lurcher is enraged the whole time and MUST be focused. Once it is down, carry on as normal.
TIPS:
Never let Selene get hit by Hoarvors (it will make the fight last longer)
Kill the stranglers will constant aoe (stops the spiders being killed and prevents the fight lasting longer)
Watch your feet, and tanks, be sure you keep everything clustered up.
Maarselok Final Battle
This boss may look terrifying but it is really not as bad as it looks so long as you communicate.
There are 3 pads in the room Agree when you start between you which pad is 1, 2 and 3. As explained in the video, it is a little easier for you to go from left to right.
Have the tank hover around pad two and keep the boss faced in THAT direction as much as possible even if he moves. This will give the rest of the group much more breathing space.
Fus Ro Dah – The boss will shout in front of him, You can block this, or dodge this. If you are in position to do so you can also stand out of it. The situation will determine which you will have to do.
Breath – The boss will breathe fire at the group sweeping from side to side. You MUST block this and if not block you must dodge it. If you don’t you will die.
Wing Flap – The boss has two MASSIVE wings (if that was not already obvious). DO NOT stand on the outside of his wings. If you do, he will flap you with his wings really hard. If you accidentally do this and don’t block it, you are toast.
ADDS – The boss will spawn adds throughout the fight. These are adds you have seen before with nasty heavy attacks and charge abilities. If the tank can manage these with taunts, then great, if not then you are on your own survival wise. So base mechanics play a role here. Blocks and interrupts are all on YOU.
Above all these adds MUST die. If you don’t kill them you will get overwhelmed and the group will wipe. So long as you have plenty of aoe (and if you got this far you already do have, based on the previous boss) these should not be a problem.
The adds are the most important thing in this fight in terms of what you should be killing. The boss has NO enrage mechanic so it doesn’t matter HOW long you take to kill him. But the adds will get too tough if they don’t die. Take your time on the boss, keep on the mechanics.
Rain! – The boss will constantly be casting raining AOEs and blasts from the ground which do moderate damage if you get caught in them. Be sure to keep your wits about you and stay OUT of stupid. Negative AOE = get out. Very simple stuff at this stage, don’t panic but don’t get caught.
Charge – The boss throughout the fight once he has gone through all of his mechanics will CHARGE across the room running anyone down that stands in his path. He will charge in the direction he is aggored in. IF the tank has done as i stated at the beginning and kept their back to pad two, he will fly in THAT direction and land roughly between 1 and 2. When he goes back the other way, the tank should STILL have their back to pad two and he will go back to where he started.
Deviating from this will mess everything up. Keep it simple and it is very easy to manage.
The tank can block his charge. DPS can dodge roll it or block it if they are careful but on Hard mode don’t even try to block it as a dps. As you can see in the video, we have full control of his charge meaning the area between 1 and 3 is completely clear. Run away into THAT side of the room and he will never be a problem, this mechanic will NEVER touch you.
Curse (NON Hard Mode Only) – The boss will curse players much like the run up the mountain, where they will have to cleanse within 20seconds OR a Lurcher will come out and you will have to kill it. This ONLY applies on NON hardmode.
Selene (Hard Mode Only) – Selene is in the fight with her first boss mechanics. Meaning she ill need to be kept an eye on. She will constantly attempt to cast her channeling ability. If this happens she MUST be Interrupted!
Majority WINS! ( Hard Mode Only) – The boss will call on Selene to help him, and she is now able to be attacked! You must attack Selene and interrupt her if necessary until her damage shield is gone.
THEN, you will see a SEED on the ground randomly in the room (location wise).
Both dps and the healer must take a synergy from this.
Each player will see a pad lit up. Call your number! 1, 2 or 3!
This mechanic (thanks to Firefly000) is called “Majority Wins”!
If two players have a number, but the other can see a different one…the majority wins! The odd one out must go to the number that was called by the others.
If all THREE players have the same number. The MAJORITY WINS! the TANK must go and cleanse on that pad!
The above mechanic must be done correctly, if not the person taking the synergy on the WRONG pad, will not cleanse, they will spawn a Lurcher and die!
And that is IT! Repeat the above mechanics over and over and over until it is dead. No enrage, no execute special stuff, nothing.
If you can pass the Majority Wins mechanic ONCE, you can complete hard mode because nothing changes.
Don’t DIE! (Hard Mode Only) – One massive note for this dungeon hardmode. IF someone dies, they will be encased in roots. You must kill this to remove it from the player BEFORE they can be resurrected. No killing roots? No res allowed
Good LUCK!!!