SCRIVENER'S HALL
Welcome to the ESO Scrivener’s Hall Dungeon Guide for both Normal and Veteran mode. Scrivener’s Hall is located in The Rift zone.
This dungeon has 3 bosses: 3 main bosses a secret mechanic (Scamp) and a lot of trashmob packs.
boss fights
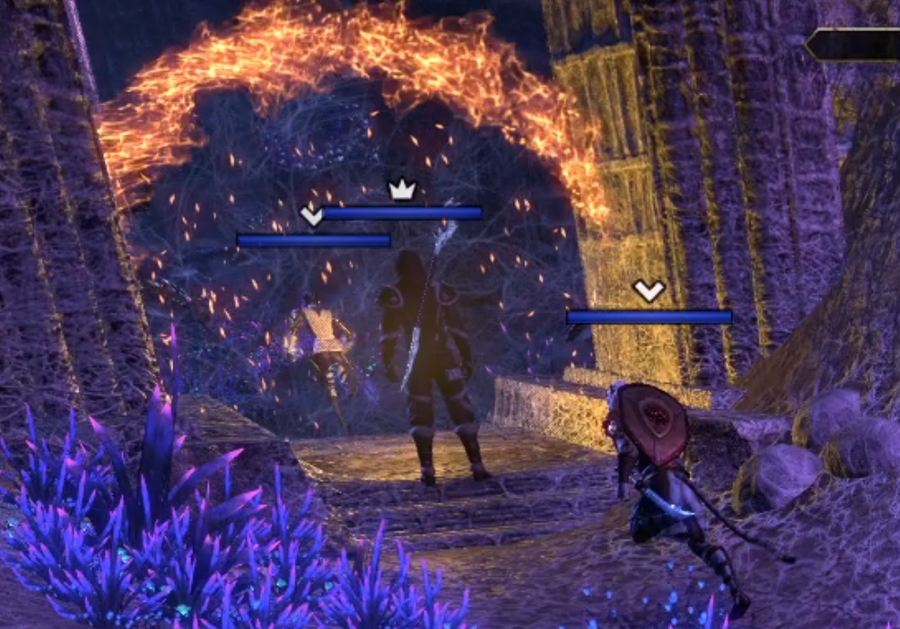
Ritemaster Naqri
Ritemaster Naqri is the first boss in the Scrivener’s Hall dungeon in ESO. This boss is an Arcanist mage who has 5.4 million health on Veteran difficulty.
Ritemaster Naqri Mechanics
Here we will list the most notable mechanics and dangerous attacks that Ritemaster Naqri has, so that you know what to expect and how to deal with them. This is quite a mechanically heavy fight, with several things that need to be taken care of at once.
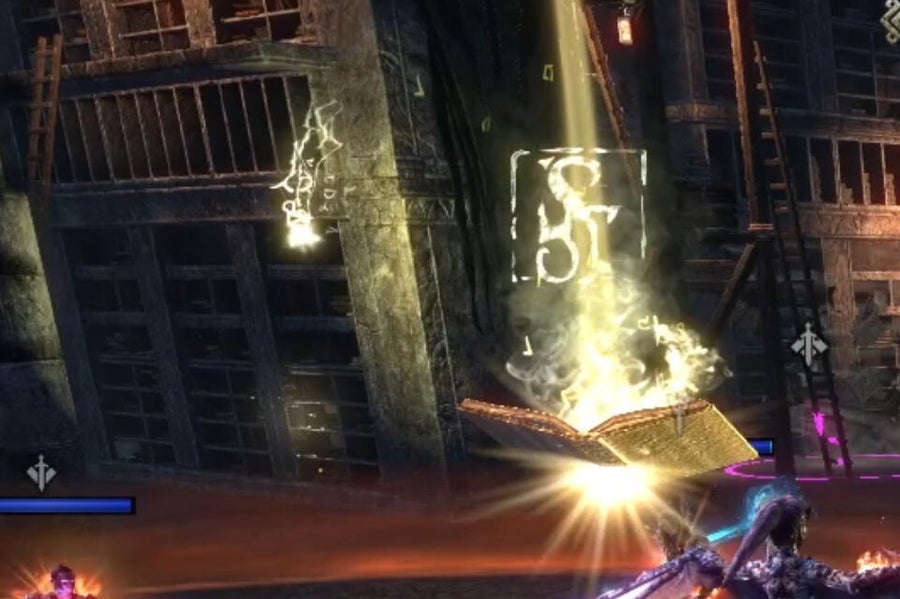
Freezing Code
At the start of the fight, Naqri will call a storm of books which will fly around him in a small AOE. The tank can pull the boss away from this AOE so that it causes less of a problem.
The books will also periodically send out many bolts of ice in different directions, which act as very small ground AOEs that deal high damage to anyone who gets hit by them. You can get killed if you are hit by several of these in quick succession, so be careful of your positioning.
At 80%, 55% and 35% health remaining, Naqri will summon a large floating book to the room. This book will have one of three colored runes floating above it. The runes are each associated with a different attack that will be targeted at players in the group:
- The Red book will summon an add who needs to be interrupted to prevent him from attacking players in the group.
- The Green book will spawn an AOE beneath players. The AOE follows you, but you can block it to mitigate the damage.
- The White book spawns white ghosts who will attack players with a charged heavy attack. This attack ignores dodge and should therefore be blocked.
These effects will repeat, doing more damage each time, until the Hidden Codex mechanic is dealt with. Regardless of which color Codex you have, the method to deal with it is the same. Keep an eye on the book with the colored rune – every few seconds it will shoot a coloured runic bolt towards one of the book cases around the edges of the room.
This book case contains the Hidden Codex that is responsible for the spells, so a DPS player needs to run away by themselves (take a shield and/or self-heal) to find and destroy the book before it can cause too much damage to the team. There will be two books that you need to find to disable this mechanic each time it happens.
If you have enough DPS, you may be able to ignore the final Hidden Codex mechanic at 35% and nuke the boss down before it kills anyone.
Unstable Literature
Unstable Literature is a small green AOE that will appear on the ground for a few seconds. Someone (ideally the tank) should stand in the AOE before it explodes. If nobody does this then it will deal heavy damage to the group, which can potentially cause a wipe.
Ritemaster Naqri Hardmode Mechanics
On Hardmode, this boss will instead have 9.2 million health. The boss will deal more damage with his attacks. The mechanics are mostly the same, with the exception of the Unstable Literature mechanic.
Unstable Literature will now instead spawn two AOEs at the same time, which both need to be mitigated. Ideally the tank and the healer should do this, as the DPS players might be busy finding the books for the Hidden Codex mechanic.
Ozezan the Inferno
Ozezan the Inferno is the second boss in Scrivener’s Hall. It has 7.3 million health on Veteran difficulty.
Ozezan the Inferno Mechanics
Below are the mechanics for Ozezan the Inferno, along with the most notable attacks that you need to watch out for.
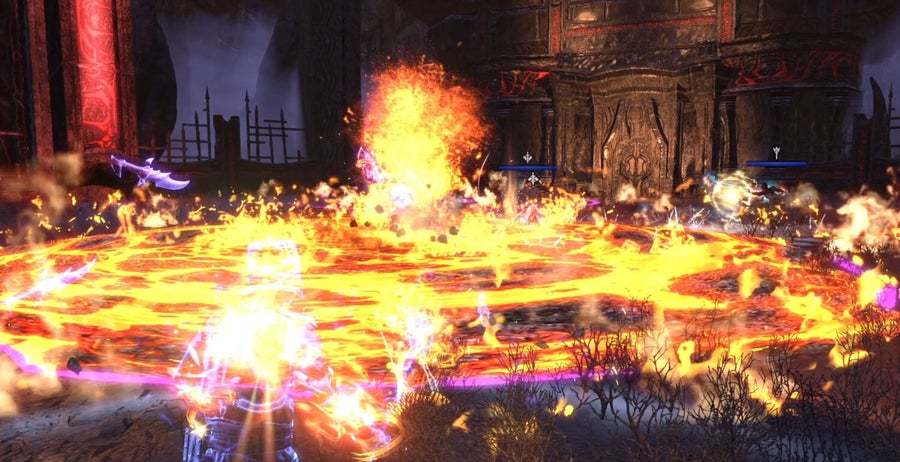
Lava Pools
Every once in a while, Ozezan will burrow into the ground and emerge in another location, leaving behind a very large lava AOE at the previous location. These AOEs will persist for the entirety of the fight, resulting in area denial. The tank can minimize this danger by keeping the boss at the edge of the arena and overlapping new lava pools as much as possible with the outer wall and with previous lava pools.
Lasers
Ozezan will target two players with a laser, which needs to be kited for a few seconds to avoid the damage.
Poison Cone
Ozezan will target the tank with a large conal cleave, which should always be faced away from the group to avoid unnecessary damage and potential deaths.
Evolved Broodlings
Evolved Broodlings are small flying adds that will spawn throughout the fight. They’re not too dangerous at first, but it’s important to keep killing them, otherwise you might get too many of them which could cause a problem. They can also channel an attack that does heavy DoT damage to all players, which should be interrupted.
Suction
About halfway through the fight, the boss will burrow to the middle of the room and a massive AOE will quickly expand outwards, filling about 90% of the room. Only the outermost parts of the room, closest to the wall, will not be covered by this AOE. When the AOE is finished expanding, all players will be sucked towards the middle of the room.
If you didn’t get out of the AOE in time, you will be sucked to the boss and you will die. If you did get out in time, you will still be sucked but only about halfway to the boss. Note that it is still possible to die in the latter scenario if the tank accidentally dropped a lava AOE in a bad place – if you are sucked into a lava pool you will die, and there’s nothing you can do about it. So make sure to position yourself so that there are no AOEs between you and the boss during this phase.
Ozezan the Inferno Hardmode Mechanics
On hardmode, Ozezan will be buffed up to 13.1 million health.
Some of the mechanics work differently in Hardmode, making the fight more challenging.
Firstly, the lasers will now be targeted at all four players instead of just two, so you will need to be more careful with the kiting to ensure you do not run into other players.
More adds will also spawn during Hardmode. In addition, you have the following extra mechanics to worry about:
Iron Atronachs
At 40% and 20% health remaining, the boss will spawn an Iron Atronach which the tank will need to taunt asap. How you approach this will largely depend on how good your group is; if your tank can survive a lot of damage and your group DPS is high, you may be able to ignore one or both of them and nuke the boss. However if you’re struggling then its probably best to play it safe and kill the iron atronachs.
Green Bugs
These bugs are actually present in non-hardmode too, but in that mode they just turn into fire bolts that will deal some extra damage.
In Hardmode, the Green Bugs will transform into extra adds, which can become extremely numerous if left unchecked. To counteract this, players should squash the bugs by running over them before they can transform.
Valinna Endboss in Scrivener’s Hall
Valinna is the final boss in the Scrivener’s Hall dungeon in ESO. On Veteran difficulty, she has 11 million health. She is accompanied by a giant spider called Lamikhai, which has 5.1 million health. You will begin the fight by battling against Lamikhai.
Valinna Mechanics
Valinna has quite a few mechanics that you need to be wary of – ignoring the mechanics on this boss fight will cause you to wipe quite rapidly.
Fire Meteors
Throughout the fight, random players will be targeted by a fire meteor. This is indicated by a red rune floating above your head. You’ll have a few seconds to move to a different position before the meteor lands on you. When it lands it will leave a permanent fire AOE on the ground at your location, so you should aim to put it at the edge of the room, out of the way.
You should avoid placing it at the exit of the room, because you’ll need to run through there later on.
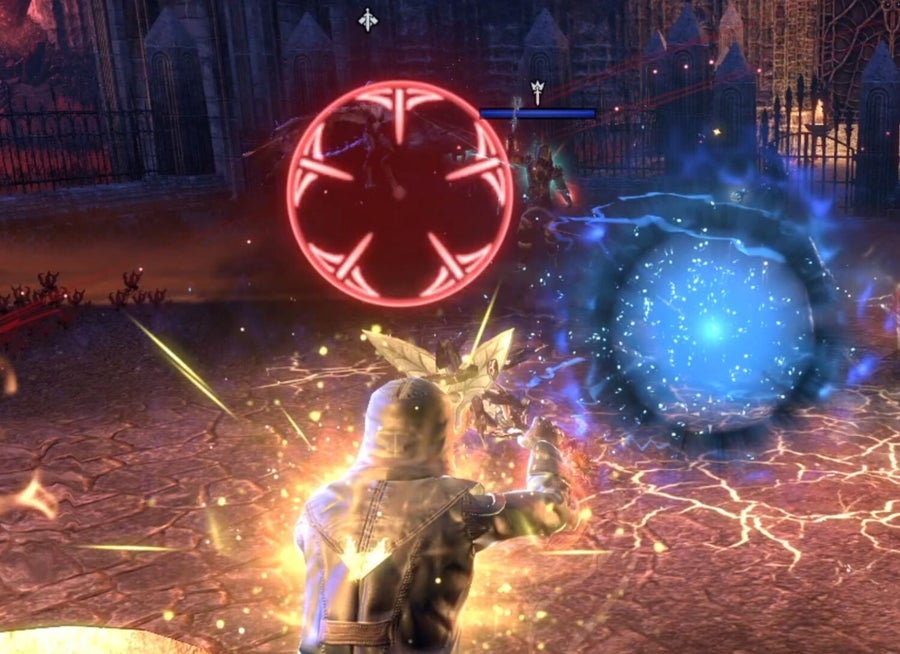
Spider Enrage
The spider will periodically turn red, enraging and dealing more damage. At the same time, the friendly NPC accompanying your group will summon an ice AOE. The tank needs to bring the spider into this AOE, which will temporarily freeze the spider and remove the enrage effect.
Fiery Eruption
When the boss reaches a certain health threshold, they will leave the room, and the room will begin to fill with an AOE. At this point, the gate to the next room will open, and everyone needs to quickly run through it to the next stage of the fight. Anyone who is too slow will be one-shotted by the Fiery Eruption AOE.
Ensnaring Spiders
From the second room onwards, you will begin to see Ensnaring Spiders spawning into the fight. These will appear at the edges of the room, and will cocoon a random player and begin pulling them towards them. The Ensnaring Spider needs to be killed before the cocooned player is pulled to the spider, otherwise the player in the cocoon will die.
Immolation Trap
Sometimes, all players will have an AOE placed on them which will stay in place and gradually expand. You need to stay inside this AOE until it explodes – leaving the AOE too early will one-shot you.
Exploding Meteors
In the final stage of the fight, exploding meteors will sometimes land in the room. These are large glowing orbs on the ground. DDs need to destroy them quickly before they explode, otherwise they will knock players back and deal heavy damage, potentially causing a wipe.
Valinna Hardmode Mechanics
On hardmode, Valinna has 17.6 million health.
The mechanics are pretty much the same on hardmode, but you will take more damage.
Secret Scamp Mechanic in Scrivener’s Hall
In Scrivener’s Hall in ESO there are secrets that you can uncover, like in most other DLC dungeons. However in this dungeon it works a little bit differently.
At the start of the dungeon, there is a vault which you will be unable to access. The NPC guarding the door will explain that the keys to the door have been stolen, but you’re welcome to access it if you are able to retrieve the keys.
Inside the room there are chests which contain extra loot, including treasure maps and item set pieces from the dungeon.
To find the keys, you’ll need to locate Cartoklept Scamps. You can find two in each dungeon – one after the first boss, and one after the second boss.
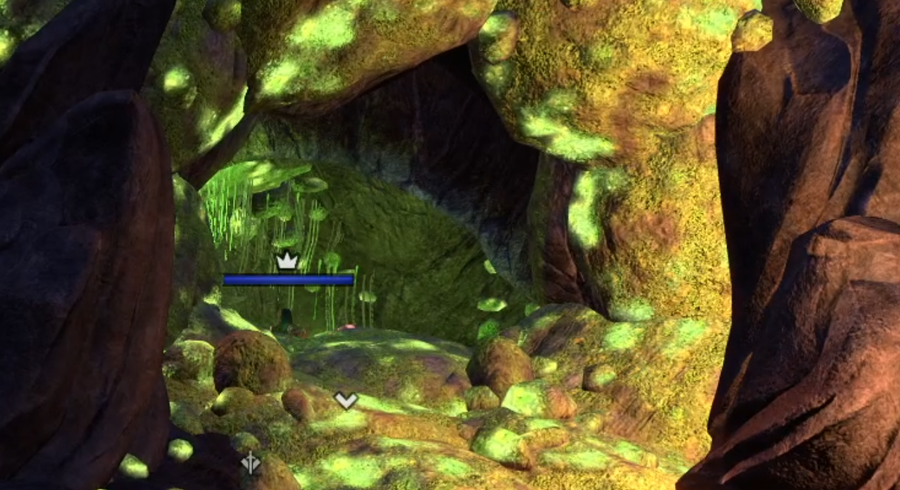
First Scamp
After the first boss, you will come to an area that contains several green caves that lead away from the main path. A Scamp will be located in one of these caves. The scamp will try to run away when you attack it. If you defeat the Scamp, you will be rewarded with a key which you can use to unlock the gate after you finish the dungeon.
Second Scamp
After the second boss, you will enter an area where there are a series of side passages and rooms blocked by spider webs. You can interact with the webs to burn them away. One of these webbed areas will contain another Scamp, which you can defeat to find another key.
DUNGEON LOOT
Three different sets and one monster set drop in the Scrivener’s Hall dungeon in ESO.
-
Light: Runecarver’s Blaze Set
-
Medium: Apocryphal Inspiration Set
-
Heavy: Abyssal Brace Set
-
Monster Set: Ozezan the Inferno Monster Set (Veteran only)