Moonhunter keep
This dungeon you will have access to at level 45 or if you travel to the opening yourself at lower levels.
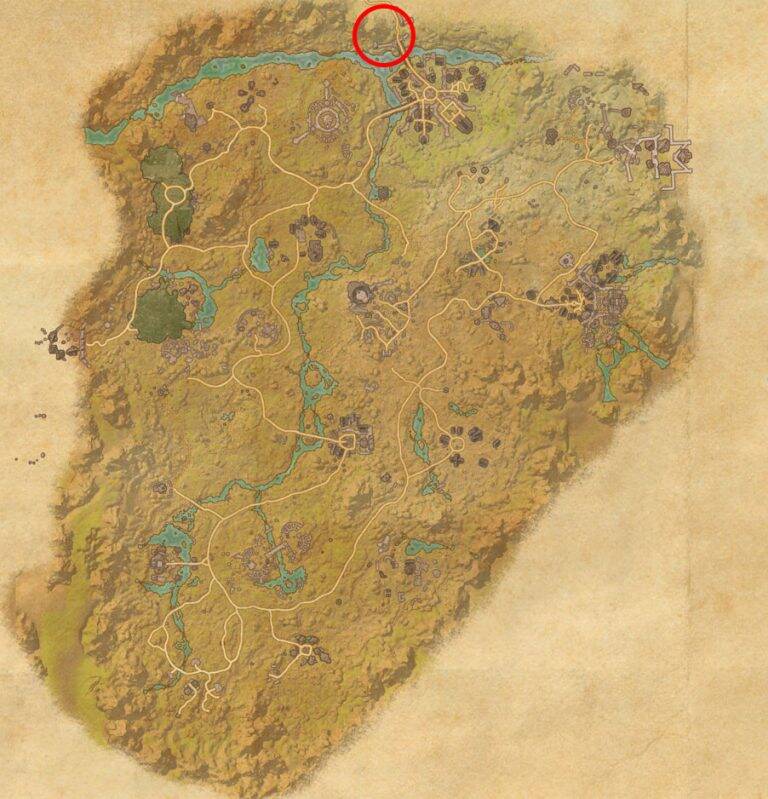
This is located in the North of Reaper’s March map as shown below left.
The bosses are marked on the map below right with their names and locations. I shall explain their mechanics as well as what you should and shouldn’t do while facing them.


boss fights
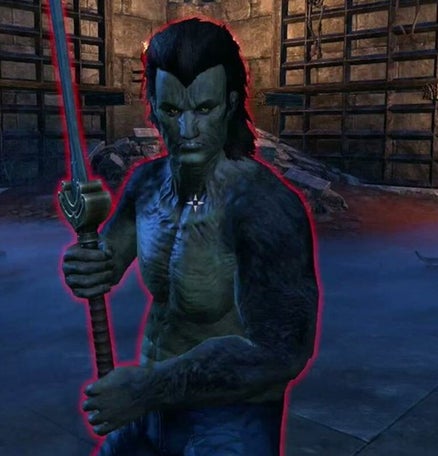
Jailer Melitus
This boss is very simple with relatively low health in comparison to some of the larger bosses but things can get messy FAST. IF you have high dps in your group be extremely careful because you will overlap mechanics really quickly! The tank should hold the boss still in the middle of the room and turn him away from the group at all times. do NOT run around the room. The rest of the group should be in a wide semi circle formation and stay AWAY from each other. This is KEY!
Burst and pop! – The boss will spawn a LARGE spreading aoe which does HUGE damage. This aoe grows and then pops launching several small fast moving aoes in the direction of the members of the group. This is key since these hit really hard and can potentially wipe the group. The way to manage this mechanic is to (as stated above) STAY spread out. Move away from the large growing aoe and when it bursts be ready to move left or right to avoid the floor circle coming at you.
IF you stack up, the aoe will of course kill your group because you will all be hit by the same thing. Hugging each other is NOT an option. Don’t do it.
Blood Fountains – The boss will cast large blood fountains under the feet of EACH player. Do NOT stack because these WILL all end up in the same place and you will wipe the group guaranteed!
When these large aoes spawn under each player, they each need to move out of it! This will spawn several times each time you move until all of the blood fountains have spawned. Then you can get back into formation and relax awaiting the next mechanic.
Key point here is to NOT panic, NOT stack and simply stay out of stupid. If you get hit you will take high damage and be snared. The snare is around the 60-70% mark so you are incredibly slow meaning that moving away from the next incoming burst is pretty much not going to happen, inevitably killing you. Avoid these at all costs and don’t selfishly hug your friends. Keep your distance from each other!
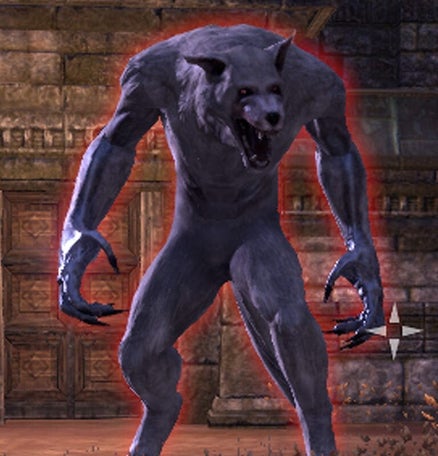
Adds – The boss will spawn adds into the room (werewolves) and these MUST be dealt with. This is where overlapping mechanics with high dps gets risky. The adds will spawn around the 80% mark to start with and then at around 51% and about 31%. The werewolves have large aoe effects that need to be avoided and also have a HUGE jumping heavy attack which will one shot a dps even if blocking! The tank must grab these as fast as possible and the group should focus these over the boss.
At 20% or so Archers will also spawn and these can add to the mess so at this point depending on your damage output you can either finish the boss or focus adds and pace it. But above all, the tank must grab these and position/agro them before the group gets overwhelmed with mechanics.
ONE SHOT (interrupt or die) – The boss sometimes charge up an interruptible effect. The channeling is about 2-3 seconds so is fairly long, BUT this must be interrupted. The effect will always be aiming at the tank/whoever has agro. This will pin them so they physically cannot interact with the boss so you MUST as a team be ready for this. If you fail to interrupt the boss during this attack, the boss will finish the heavy attack and kill the tank outright no matter how much health he/she has.
Hedge Maze Guardian
This fight is actually pretty easy but is sometimes in PUGs made to look FAR more difficult than it has to be. The tank should position the boss in the middle of the room and avoid going anywhere near the edges. Turn the boss away from the group and hold it still! In the mean tim you should split into TWO teams. Tank and healer is team 1 and the 2x dps are team 2! Remember this and work together with the mechanics.
Root – The boss will root all members of the group and if the root expires after it’s full duration each member will take HUGE damage and/or die. The way to fix this is to simply dodgeroll out of the mechanic before it kills you.
Heavy attack – The boss will heavy attack whoever has agro (should be the tank, it is NOT hard to maintain a taunt on a standing still boss). Simply block this, or take HUGE damage and/or die.
Cleave – This boss will cast a HUGE cleave effect, the best part of the distance from the middle to the edge of the entire room. Stay out of this if you are a dps/healer and simply block it as the tank. It wont kill a dps if they are full health but they will take a LOT of damage. It is quite a long effect so hard to judge. Make it easy on yourself and just avoid it.
Stranglers – THIS is crucial! Stranglers are all around the room, in the maze and around the edges of the room. These will grab the closest target and pin them while draining their health. If these are not interrupted the player will of course end up dead, or be smacked by the boss while stunned…which of course results in the same outcome. THIS is why you MUST tank the boss in the middle of the room.
Team 1 (healer and tank) stay in the middle of the room and they will NEVER interact with a strangler for the whole fight…
Team 2 however (the 2x dps) MUST stay together at all times because THEY will be running around in the maze and the room and WILL interact with the stranglers.
They will pin one of the team members if they get too close and your other member should be the one to interrupt them when it happens. Work together (as shown in the video) and these will never be a problem. A breeze to manage mechanic if done correctly, but a WIPE FEST if you have selfish show off type players. Work together!
Spriggans – Team 2 this is on you! The boss CANNOT be killed if it is being healed. Throughout the fight the Spriggans around the room will be healing the boss rapidly. So team 2 needs to go together to EACH Spriggan and kill it to stop it healing. Generally there are two at a time. So go together, get them down and when they are dead come back to the boss. I cannot stress this enough as explained in the previous mechanic, BOTH players must stay together. Near every Spriggan is a Strangler, and they WILL pin one of you until you are dead. You must help each other.
During the fight the Spriggans will get deeper and deeper into the maze, i hope you have good navigation skills!
Once all the Spriggan phases are down, you can finish off the boss (around 30% health remaining).
Mylenne Moon-Caller
This boss can be a NIGHTMARE if people do not pay attention! So be careful and watch your feet!
The tank should hold the boss pretty much in the middle of the room, or at least hold it still and turn it away from the group. Do NOT drop taunt for a second because you will wipe the group out.
Pounce – The boss will occasionally pounce on a random player player (usually the furthest away but not always). When this happens the boss will try to tear apart the person on the floor who is now pinned. This is where the boss MUST be interrupted to save the pinned player. If you are not fast enough your team mate will die to around 200-300k damage. This can happen to the tank as well so be careful! Base mechanics are key, “interrupt” or die!
Heavy attack – The boss will throw out a nasty heavy attack at whoever has agro. This of course should always be the tank so the tank should BLOCK this. However if for some reason the boss is using this vs another player (dps/healer) you must time it and dodge roll the attack. You will NOT block this as a healer/dps…it will kill you.
Wolves – During the wolves will spawn in 3s every 20% starting from 80%. These can be debuffed with a taunt but don’t always respond to taunts and will hit whoever they like, and they can also enrage so be careful. Do not run around the room if they are chasing you as a dps/healer. These should be focused down as a priority over the boss. The tank however can chain these in and root them so also of course “time stop” IS an option here to control the adds. Kill the wolves then get back to the boss.
Wardens – DO NOT PANIC! I have seen many PUG sessions where people see these and either ignore them or run around the room in circles. Tip: neither works!
The wardens will spawn during the fight 2 at a time (excluding the first spawn which is 1) at the same time as the wolves and they are your priority targets. They channel nasty lightning attacks and confuse the hell out of the mechanics.
Now, lets break this up a bit. They will place a huge aoe on the floor (they channel then fire it) stay OUT of this big aoe. They will also cast lightning across the floor which you must avoid(just move your feet all the time so these don’t catch you. And finally lightning bolts will come from the sky. These land very fast and the next shot is just as quick.
When this happens each player will have their own lightning bolts, so move around in a nice little circle (only a couple of feet or so) and keep moving so they always miss you until they are gone. DO NOT chase each other and do NOT stack. If you do so multiple players will put their OWN affects on top of other players, they will double up and die!
You MUST stay separate.
Above all the wardens must be focused before the boss is attacked again. During this time the tank needs to keep hold of any adds that come in and the boss and focus holding agro and NOT letting that dog go loose! Relax and focus on the mechanics together!
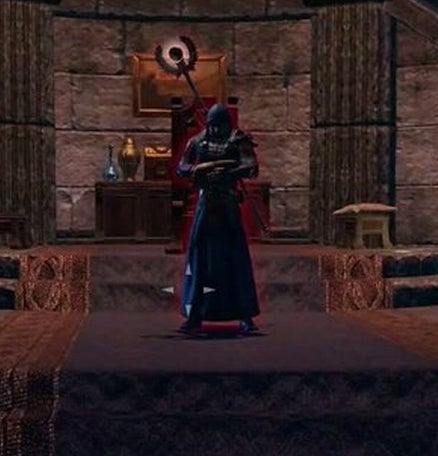
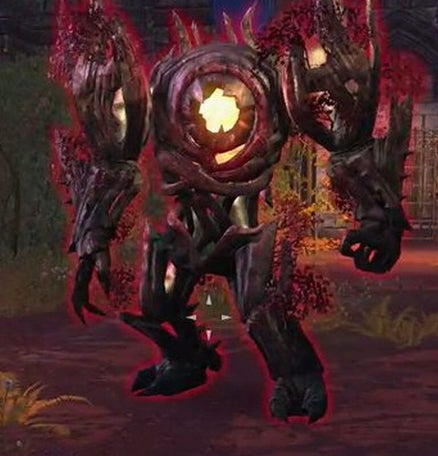
Archivist Ernarde
The famous PUG killer boss himself, get ready, this really isn’t as bad as it looks but you WILL have to focus on clean mechanics. The tank should hold agro on the boss at all times but the tank generally doesn’t need to be NEAR the boss. Just keep him busy and focus on your key role in this fight. Explained below. The dps need to stand in a spread out semi circle around the boss and get ready to move their feet as and when they need to.
ADDS! – These are your MAIN priority! There are two adds to start with. Either one can turn into a hulking werewolf and they hurt like hell. The tank should take BOTH adds into the left or right corner of the room near the stairs and face them against the wall as soon as possible. This is where the group need to focus on killing them as fast as possible. If you have very high damage and/or use your ultimates you CAN sometimes kill them before they transform. However, the tank needs them in the corner.
JUFFY (aka the hulking werewolf) takes NO prisoners and his mechanics need to be understood. The tank must block the stomp he does and the breath should never be spun on the group. If a stomp aoe is incoming the rest of the group MUST get the hell out of the way or die to a one shot.
So in short. focus these adds and ignore the boss damage wise (just be sure he is taunted). These adds will spawn again and again in the fight depending on the bosses health (so be sure to NOT over nuke the boss unless you can really handle it. Take your time, there is NO rush!
The adds will spawn at 76% 56% and 36%, a total of 4 waves of adds including the ones from the beginning. Take your time if you need to.
Lightning – The boss channel a heavy attack on one member of the group which will result in a spreading aoe. Once it hits its full size it will burst. The player with this aoe should move to one side and avoid overlapping on the group until it is gone else risk wiping out the team. Simply move, let it pop and come back in.
Shield! – This mechanic is where the boss will randomly pick one player and he will suspend them in the air with a shield over them. This shield must be broken with damage from your group to release your team member. If you do not kill it in time it will explode and the player will die.
Rune Roulette! – This mechanic is very simple once you KNOW it, pretty much like most things but at first glance is incredibly confusing. Don’t worry it is not as bad as you mite think.
The boss will have a rotating sequence of runes changing above his head. He is deciding which one he wants. And you will see around the room there are 12 symbols with a circle under them.
Here is where it gets simple but you have to act FAST…Once he settles on a choice, the symbol will stay solid. Every symbol around the room that is the SAME as his, will light up with an obvious circle of light under it, and of course the rune will be there to see.
When this happens you ALL need to go to 1 symbol each. There are 4 of each symbol in the room so be sure to get the right one. There are some to the left and right of the corridor, left and right of the stairs and at the TOP of the stairs (shown in the video, watch the tank).
If more than one person stands in the same room as someone else, the second person to arrive will die, GET YOUR OWN!!!
Also note during this phase the boss and the adds(if there are any) are all frozen on the spot, so you CAN still do damage and res people if required so long as you stay INSIDE the rune.
So in short…see which one he has chosen, go find your own that matches it…stand in it until the explosion goes off, and then carry on as normal. Failure will result in a one shot.
This mechanic is a lot simpler than it looks once you understand it, but this is crucial for hardmode on the last boss. So learn it ;)!
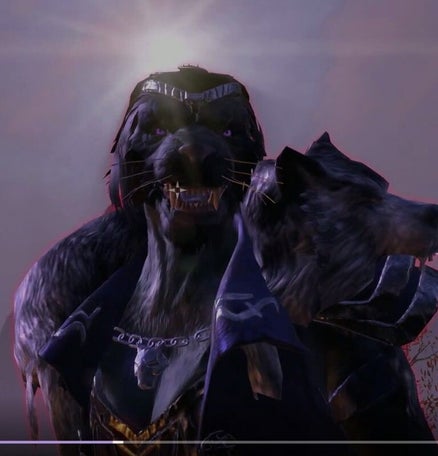
Vykosa The Ascendant (aka Cat-Dog)
This boss is a pain in the rear end but hopefully this guide will help you. The danger in this fight is when people “overburn” mechanics, stack up too much and/or don’t co-ordinate together. You need to time your abilities and ultimates etc vs the mechanics. It’s not a burn fest. The tank should hold the boss pretty much where she starts, and turn it away from the group. Do NOT drop the boss’s taunt!
Put it on a leash! – There are two wolf pets in this fight, one red one and one grey one. They are attached to the wall via a dog lead/chain. The chain is a set length however and they SHARE it. So if the tank taunts both, they will only both reach the middle at most, but if you pull ONE, the other has a shorter leash. So the trick to this is to have the tank taunt one (the grey one) and then leave the red one alone for the group to focus. These both have the same mechanics so need to be paid attention too.
The dps should ALWAYS focus the red wolf on the left whenever it is active. Two things to note however. if the wolf tries to “leap” you MUST dodge roll or take a one shot. Also if it tries to heavy attack you must dodge roll BACKWARDS. Do not stack else several will get caught by it but if you dodge different directions, it will follow you and spin and kill you and/or others anyway. Once the red wolf is dead, go meet the tank and kill the remaining wolf. They will cower into the corner for a duration and revisit the fight again later.
These are PRIORITY targets. Red one first, grey one second, do NOT leave these alive no matter what!
WARNING!: At 20% health of the boss, BOTH wolves will be OFF their leash, kill them asap!
Heavy attack – The boss will heavy attack the tank. This needs to be blocked else it is a one shot pretty much. If it is on a member of the group it must be dodge rolled or die, but this should ALWAYS be on the tank, unless your tank drops the taunt (which they should NOT).
Bleed – The tank will be hit with some NASTY bleeds from the boss so the healer MUST be on point at keeping up heals or you will wipe fast. Heavy heals are key!
Fire – This is pretty easy to spot. Vykosa will cause a small aoe fire blast to hit the ground. This is shown by her raising her staff in the air. Simply don’t stand in it and wait for it to pass. Standing in it will go HIGH damage overtime to whoever is in it.
Fear Totem – The boss will place a medium sized circular aoe on the ground with a totem in the middle. This will FEAR players and to get out of it you MUST break free. Preserve your stamina and don’t stand in the aoe! If this lands on the tank, they may want to reposition the boss to the left or the right so they don’t stand in it on purpose for too long.
Pounce – Much like the middle boss of the dungeon she will pounce on the tank or whoever has agro. When this happens she MUST be interrupted else the person pinned will be chewed on and killed! PAY ATTENTION to interrupt mechanics at all costs!
Stranglers – You have seen these in the dungeon already, you should know how they work. However, at 70% the room is SURROUNDED by Stranglers. Keep dots near the tank at all times so that these die. They will get up again of course but they do have very low health and can be put into a “sit down” state very easily. This will prevent unnecessary stunning. In the mean time as dps and healers, keep away form the edges of the room as much as you can and if you DO end up there. Keep your dots up to avoid the Stranglers overwhelming you.
The PACK! – This is an extremely important mechanic! At set health % the boss will spawn 2 adds and then shortly after another 2-3! These CAN and WILL overlap!
The werewolves you have seen throughout the entire dungeons…you know the ones that one shot you? THEY are coming in large numbers!.
90% you will get 2x wolves
85% you will get 3x!
70% 2x wolves
65% 2x wolves
50% (see below for warden mechanic) 2x wolves
46-45% 2x wolves
30% 2x wolves
25% 2x wolves
The trick to these is to focus and even save up your ultimates for these phases. You can literally slow down on the damage and build ultimate per phase. But remember they are were wolves so you WILL get ulti back for killing them with the fighters guild passives.
One more VERY important trick is CC. Your tank can pin them while taunting them (which btw is incredibly challenging with so many targets and so much damage incoming) BUT what you can do as a group is have plenty of “time stop” abilities available as demonstrated in the video to control them.
These wolves take TOP priority! If they heavy attack leep you MUST dodgeroll as a dps or healer or die (also demonstrated in the video).
Wardens – This is an extremely tricky stage now. Not only do you have the mechanics you have had already but at 50% you get wardens in the fight. So to go with the werewolf pack you ALSO have to deal with these. Just like the middle boss in the dungeon, wardens are now PRIMARY!
This is where you want to change your positioning as the group. Instead of letting all the wolves come to the tank and throwing down ultimates and time stops (cc) you will want to run to the warden who spawns near the entrance and focus him down. They have the same mechanics as the previous fight containing wardens (lightning splashes, aoes on the ground and enrage type mechanics where they do mroe damage) so you should already be familiar with these. They MUST die, and yes even before the wolves! Get rid of them at all costs.
They spawn two at a time at set health check points. These spawn at 50%, 46/45%, 30% and 25% and a final 1x at about 21-20%. These MUST be focused at all times. Watch your feet and do NOT stack up.
Archivist Ernarde! – HE IS BACK!!
At 30% the ghost of the previous boss will enter the room with his mechanics in tact! He will cast his channeling heavy attack which makes a spreading aoe, just like in the last fight. Do not stack, move to a safe spot and wait for it to clear so you don’t overlap it and kill your friends.
Above all, the “Rune Roulette” is not IN THE ROOM! Every minute or so he will start choosing a rune. When he has chosen one, all 4 of you MUST fine ONE rune each matching his choice and stand in it or die!
TIP: be careful not to try and run near or through him (he is the purple guy in the middle of the room) he has a large hitbox and as shown in the video you can get stuck on him and end up dead by not making it to a rune in time.
Finally:
Remember all of these mechanics and put them into practice IN order and you will be fine but you will need to fully understand them.
Just relax and pay attention and work together as a team, yolo players will NOT get this done.
It is not a burn fest, you CAN pace this fight. Under 20% health once the wolves are all gone, wardens are dead and the two dogs are gone, the only thing you have left is the boss.
RELAX, execute panic kills people all the time, it isn’t dead until it is dead. FOCUS mechanics and good luck!